
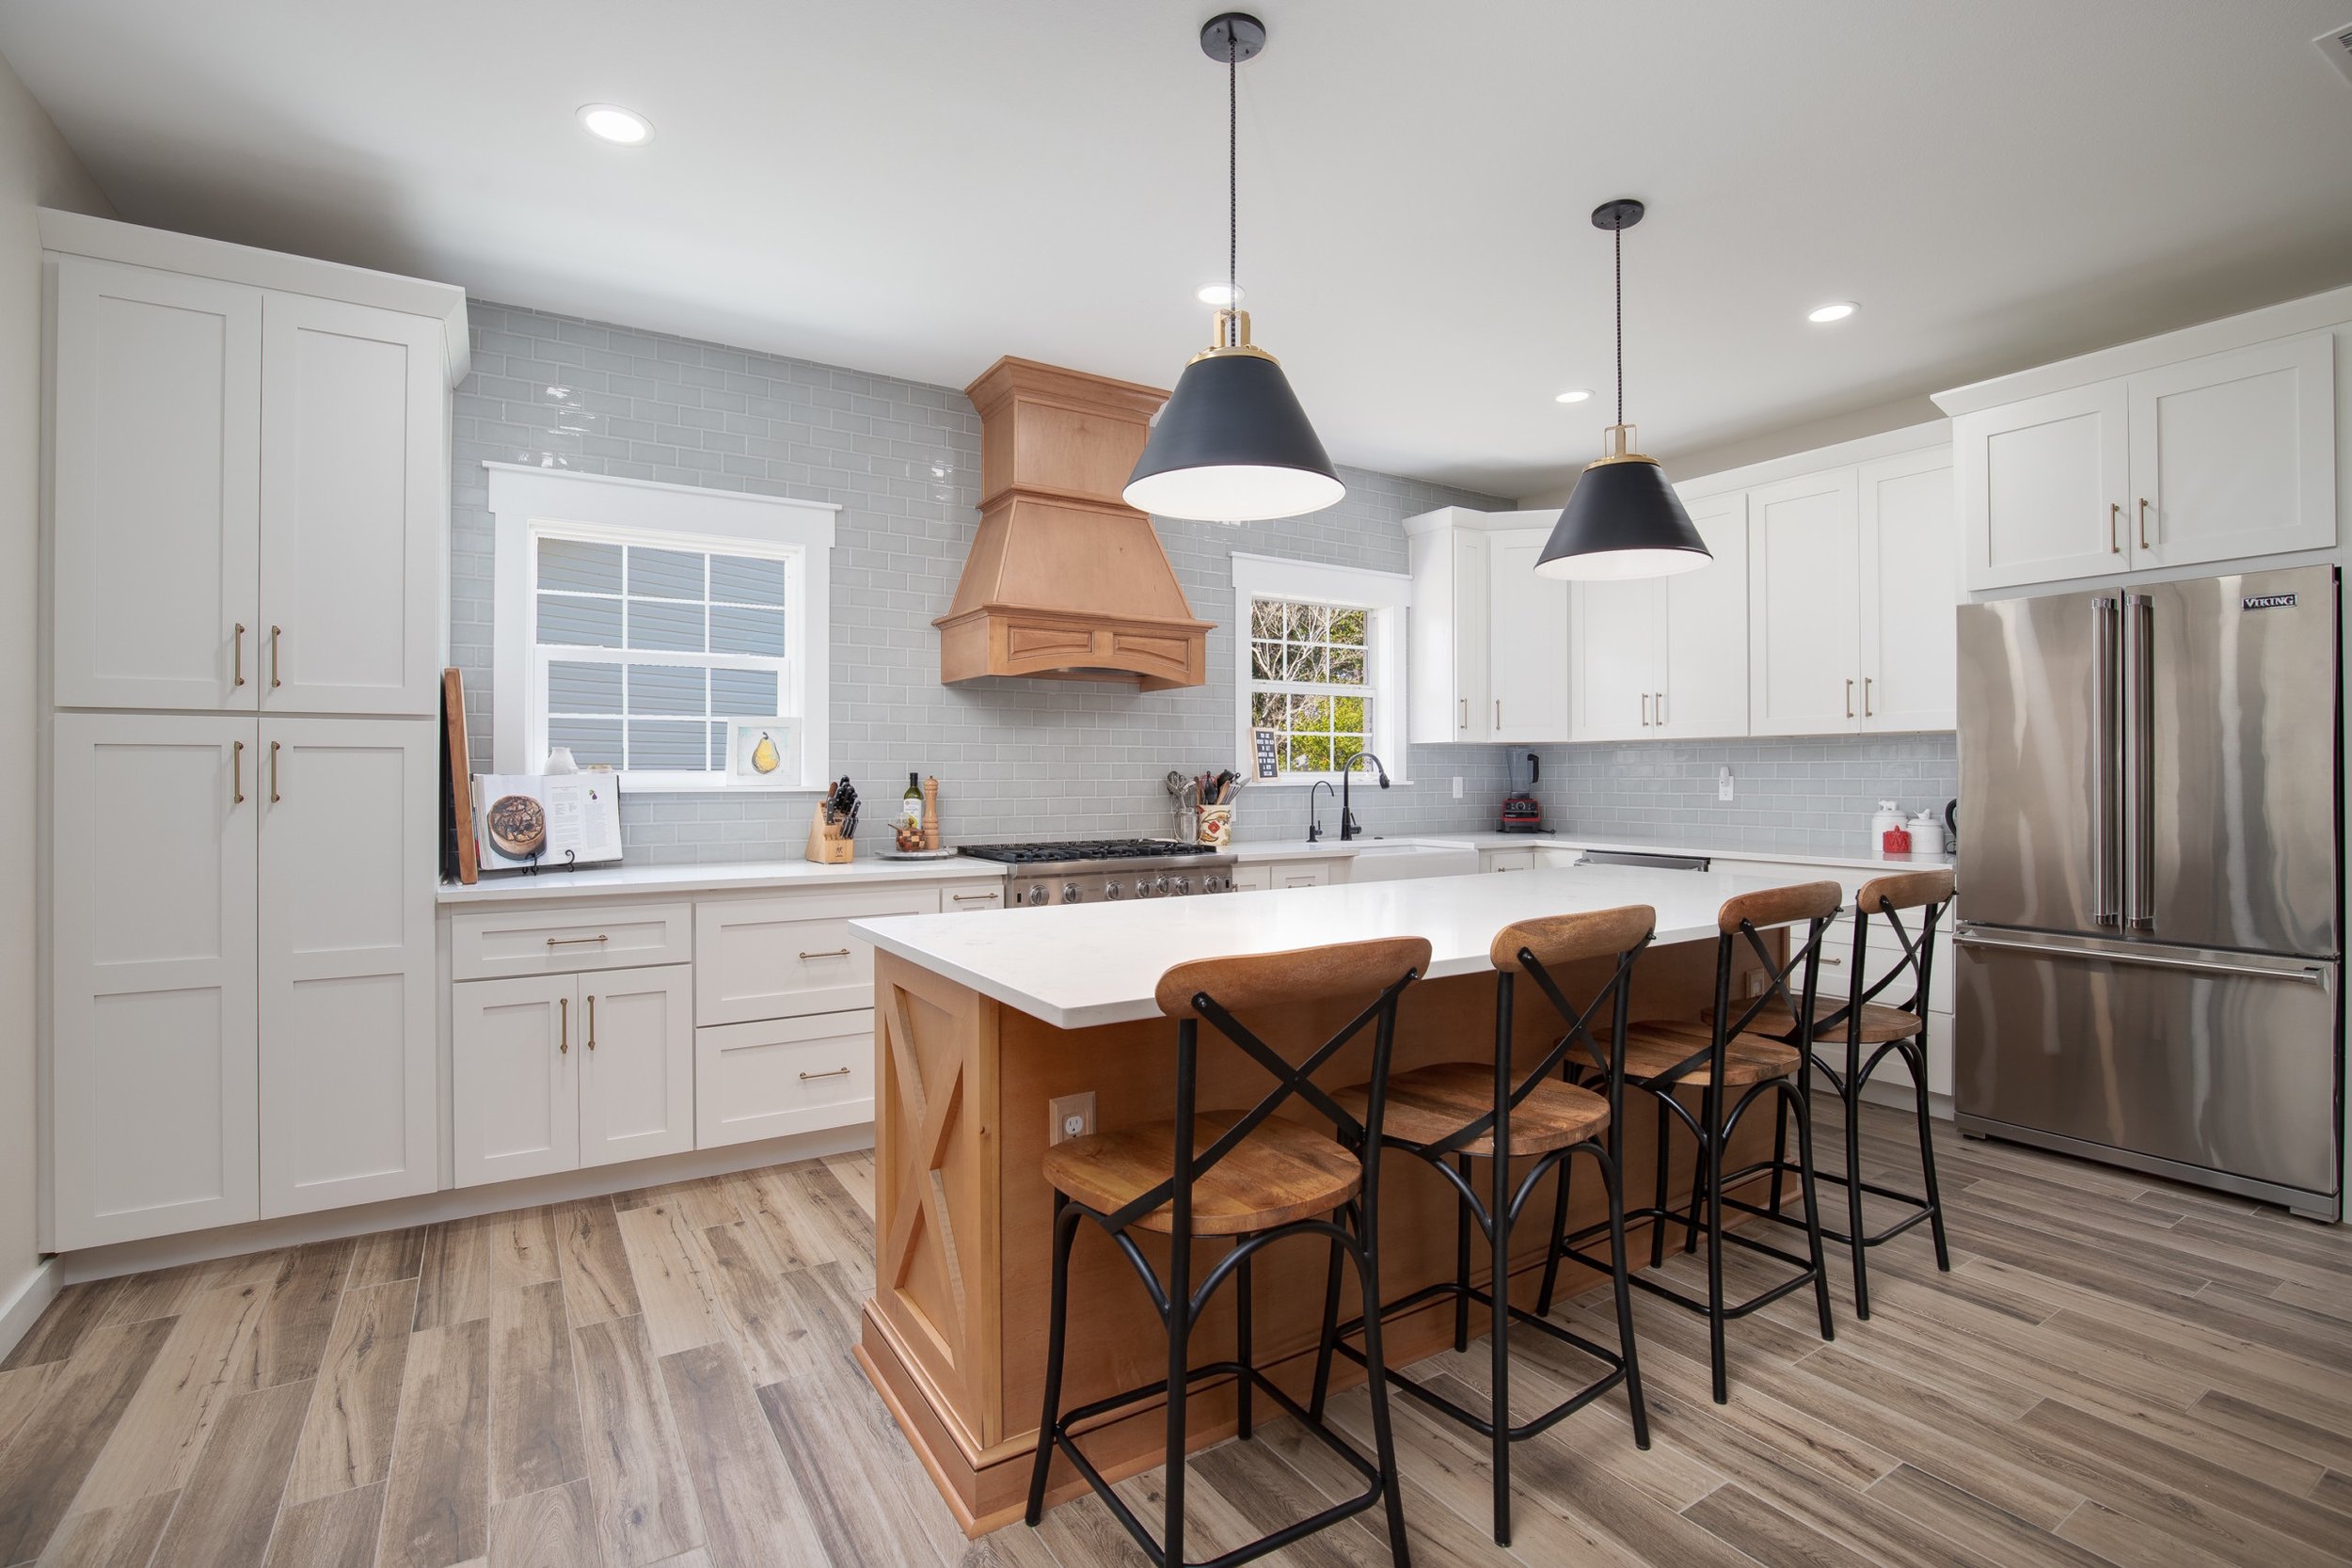
Cabinets 101
rule of 3
Any configuration is possible in increments of 3 inches. All cabinet width sizes are offered in 3 inch increments. Cabinets start at 9 inches wide and go up to 48 inches wide. This will vary depending on the type of cabinet selected as certain styles, such as pot drawer bases, are only offered in certain widths. Any spaces around appliances or next to walls will be taken care of with filler strips that match the cabinet finish. Just remember the rule of 3 during planning.
terminology

base or lower cabinets
A base, floor, or lower cabinet sits on the floor and supports a countertop. In a bathroom, this is usually called a "vanity" or "vanity base". In a kitchen, it is typically 24" deep and for a bathroom 21". But, base cabinets can be made in any depth from about 16" (the practical minimum) to 36" (the practical maximum). We commonly make shallow sink cabinets to fit small baths, and 30"-deep base cabinets for kitchens to provide more storage and make better use of the room's shape and configuration.

wall or upper cabinets
A wall or upper cabinet hangs on the wall. Usually 12" or 14" deep in a kitchen, and as little as 8" deep for use in a bath. Many designers don't like wall cabinets and won't use them but they do provide useful storage when planned carefully.
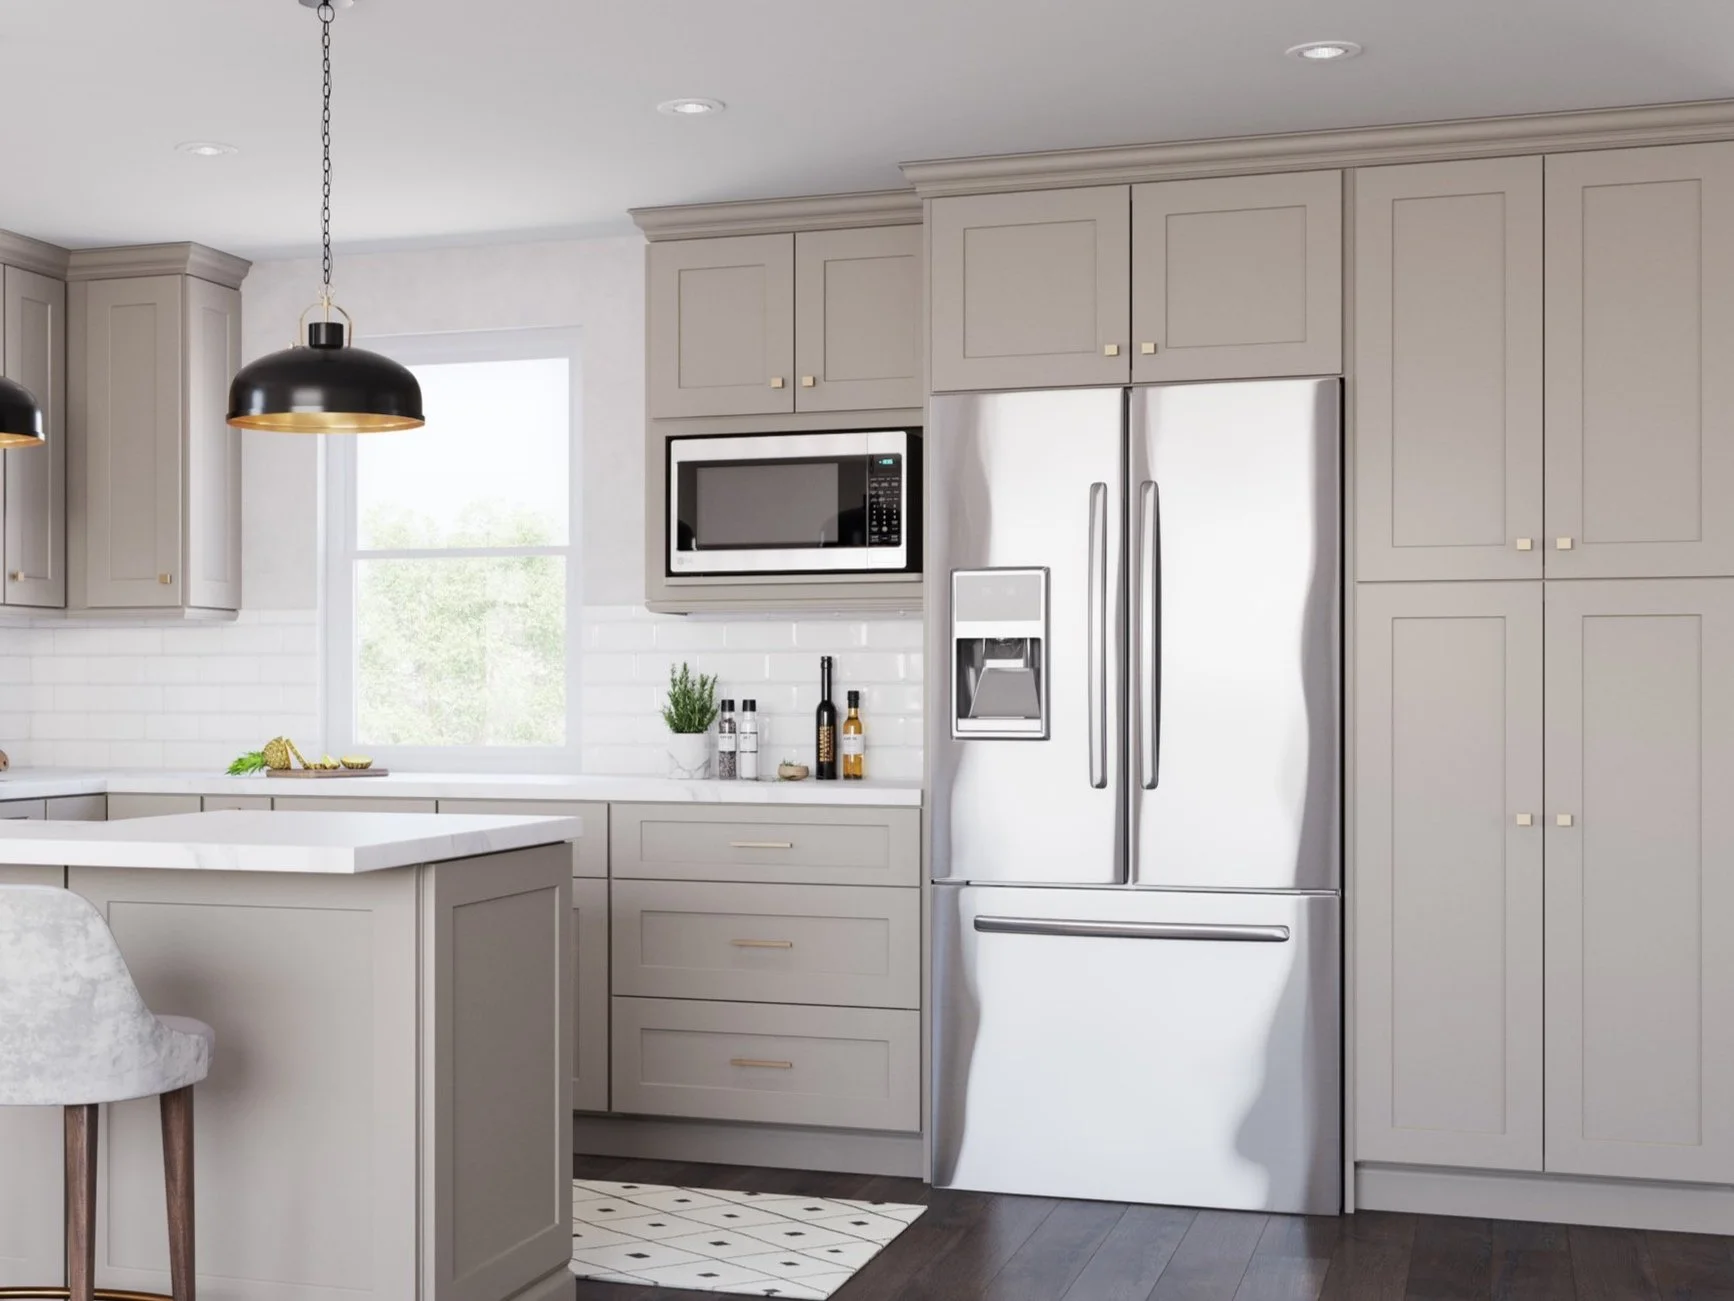
tall or pantry cabinets
A utility, full-height, or tall cabinet is, as expected, a cabinet that sits on the floor and extends to about 7 feet. Originally built as broom closets, utility cabinets are now multi-purpose cabinets holding everything from ovens to pantries, and have a place in most kitchens.

We offer free layout and project help to make sure you are getting the correct cabinets for your space! Find out more by clicking below.
Need help with your project?
measuring for kitchen cabinets

Taking measurements is the first step when planning for new kitchen cabinets. You need to see what space you have. This task requires a tape measure, a pencil, and some scratch paper or planning grid. Taking accurate measurements is very important for planning the exact cabinet sizes you will need for a successful kitchen remodel. Download the PDF below for a sample grid layout.
-
step 1
Draw and outline of the room and measure the overall length of the walls. Always start measuring your walls from an adjoining corner if possible. Measure from wall edge to wall edge, getting the total space, ignoring appliances, fixtures, and windows for the moment. Write the wall measurements down. If you’re using a grid, draw a line and mark the length of the walls.
-
step 2
If there is a window you will be centering the sink on, measure from the wall edge to the sink center and note that on your drawing. Measure and mark any appliances or fixtures that will not/cannot be moved. Start at the corner and measure the location of each obstacle on each wall. This includes windows, doors, and pipe chases. Measure windows and doors from outside edge to outside edge of casing. Record height, width and depth of each object.
-
step 3
Take the tape measure to get the distance from the floor to the ceiling at each corner and the middle of each wall and make note of that on the sheet. Knowing this will allow you to choose the proper height of your wall cabinets, based on the countertop clearance and if the cabinets will have any space below the ceiling or go all the way up. Make note of any soffits, recessed ceilings or any other feature existing in the room that could impact the height of the wall cabinets.
-
step 4
Be sure to measure accurately, if not accurate the cabinets you get may not fit correctly. Appliances are all standard sizes and can be found from your appliance manufacturer website. You must follow hood venting code requirements and closest cabinet distances for gas and electric stoves/ranges. Be sure to note if you are keeping those sizes, changing, or adding new appliances in the mix. You should now have all the dimensions, locations, obstacles, and appliances drawn on your kitchen plan. Next up, Layout!
layout

work triangle
A work triangle is comprised of an imaginary line drawn between the primary work areas: refrigerator (food storage) stove (food prep) and sink (cleanup). The sum total of the 3 sides shouldn’t exceed 26 linear feet for maximum efficiency. Allow 48 inches between your island and other cabinets if possible, 36 being minimum.


backsplash height?
Our wall cabinets are available in 4 standard height configurations. Those are 15, 30, 36, and 42 inches. Your ceiling height and design will determine what size is best for you. Standard distances between the countertop and upper cabinets range from 18 to 22 inches. Please find some examples in the graphic.


wall cabinets in island?
YES! If you cannot fit a 5 foot wide Island with base cabinets on the bar overhang side, you can install wall cabinets which are only 12 inches deep. You build a 2x4 base covered in 2 layers of 1/2 inch plywood totaling an height of 4.5 inches. Now install the 30 inch wall cabinets on top to equal 34.5 inches tall (the same as the front base cabinets). This will give you hidden storage under the stool overhang area on a 4 foot island!
kitchen shapes
-

single wall
Pro: Open and airy, this shape is typically found in apartment living.
Con: Appliances often take up the bulk of the work area.
-

galley
Pro: Open on two ends, appliances are in close proximity for an efficient work area.
Con: Traffic must pass through a galley and can interrupt work flow.
-

L shape
Pro: Found in any size home, the “L” allows for flexibility when placing appliances and is often open to living areas.
Con: Because it is open to living areas, traffic can encroach into workflow.
-

L shape with island
Pro: Adding an island to the “L” shape keeps workflow along the ample counter area while the island separates the space for gathering or additional prep help, keeping folks out of the way of the cook, but letting them join in the party.
Con: We can’t think of one!
-

U shape
Pro: Efficient workflow and generous countertop space are the hall marks of a U-shaped kitchen.
Con: The cook may feel disconnected from others with this kitchen floor plan.
-
G shape
Pro: Shaped like a “U” with a little extra! Typically a peninsula the “G” may offer a place for dining or serving.
Con: Similar to U-Shaped as it is more confined.
measuring for bathroom
-
step 1
Measure your bathroom from wall to wall to find the width of your space. Make sure to take into account where your bathroom and shower doors swing so they don’t hit your new vanity.
For a single-sink vanity, you’ll need a minimum of 18 inches of space available; for a double-sink, you’ll need at least 48 inches. Keep in mind that the top width of your vanity will be about an inch wider than the bottom width due to the countertop overhang, so be sure to factor that into your decision when choosing a vanity size.
-
step 2
Measure the depth of your bathroom. To avoid a cramped bathroom layout, measure from the back wall of your bathroom to the front. Because you'll need room to open your vanity drawers and doors, it's best practice to leave at least 30 inches of floor space between your wall and the front of your vanity.
The most common vanity depths are 18, 20, or 21 inches. All Lavoro vanities are 21 inches deep.
-
step 3
Measure the height your countertop. The standard vanity height is 30-36 inches. Your current vanity may be lower which is typical of older vanities. All Lavoro vanities are 34.5 inches for a total height of 36 inches with countertops installed.
However, you'll also want to factor in faucet height and other features, like the placement of a backsplash or electrical outlets. This will all help you plan the size of mirrors and lighting fixtures.
-
step 4
As mentioned in step 1, choosing a vanity that simply fits in your space isn't the only thing to consider. To create a functional bathroom layout you must be aware of how much room drawers and cabinets will need to swing or pull out. Consider how much walking room you'll need in front of your vanity. Follow regulations by ensuring the center of your toilet is at least 18 inches from the side of the vanity and the tub has a minimum of 30 inches of clearance.
single sink
If you're designing a guest bathroom or a hall bathroom, a single-sink vanity provides all the functionality you need without taking up too much space. Single-sink vanities are typically 24, 30, 36, or 48 inches across, depending on the amount of counter space and storage you'd need. You can even find some as wide as 60 inches.
double sink
Double-sink vanities are available in wider widths, typically between 60 and 72 inches. Even the smaller 60-inch option offers ample counter space and storage for toiletries. If your bathroom measures at least 15 feet or greater in length, width, or both, you should be able to comfortably fit a 60-inch vanity. Lavoro vanities can be customized to any size in 3 inch increments.